 EN
EN
 AR
AR
 BG
BG
 HR
HR
 CS
CS
 DA
DA
 NL
NL
 FI
FI
 FR
FR
 DE
DE
 EL
EL
 HI
HI
 IT
IT
 JA
JA
 KO
KO
 NO
NO
 PL
PL
 PT
PT
 RO
RO
 RU
RU
 ES
ES
 SV
SV
 TL
TL
 VI
VI
 TH
TH
 TR
TR
 GA
GA
 CY
CY
 BE
BE
 IS
IS
Veldreparatiehandleiding: Omgaan met oppervladeschade aan duplexstaalbuizen tijdens de bouw
Veldreparatiehandleiding: Omgaan met oppervladeschade aan duplexstaalbuizen tijdens de bouw
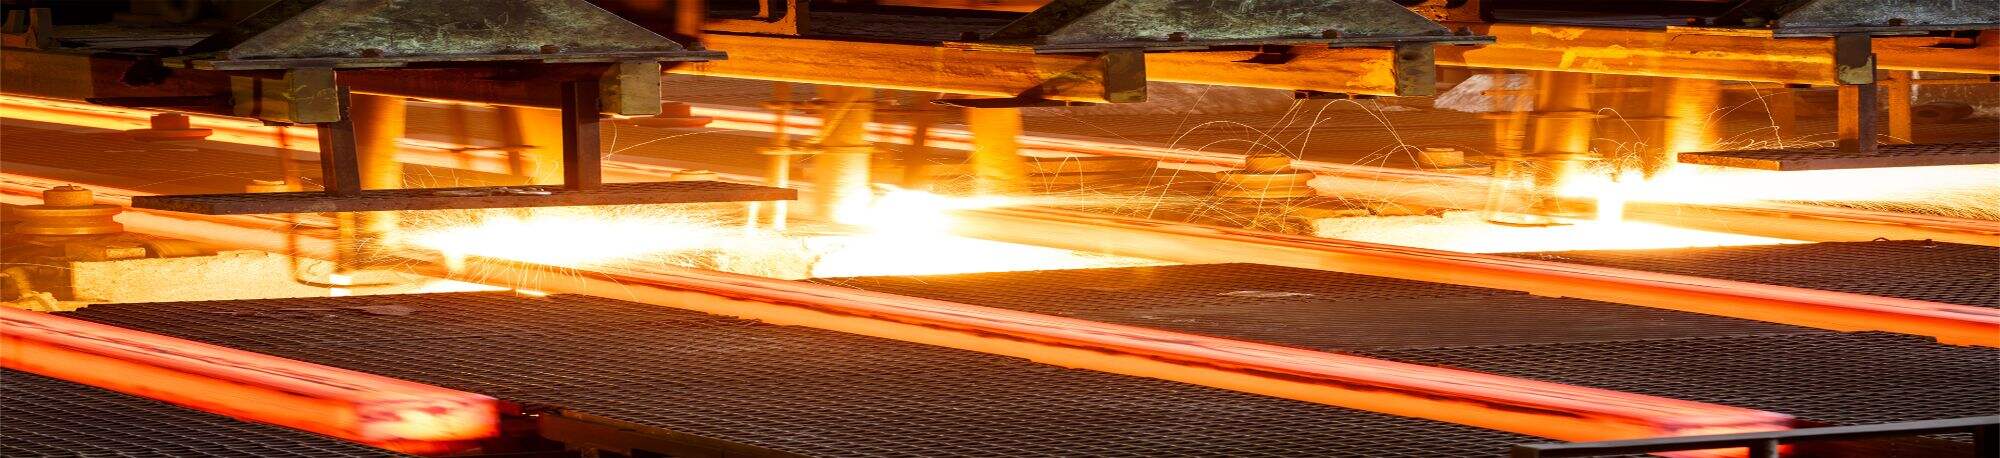
Tijdens de constructie van een pijpleidingsysteem met hoge integriteit is het ontdekken van oppervlakteschade aan dure duplexstaalcomponenten (bijv. 2205, 2507) een veelvoorkomend, maar risicovol gebeuren. Uw reactie in de eerste momenten na ontdekking bepaalt of het probleem een klein, herstelbaar tegenvaller is of een kostbare vertraging van het project.
Duplexstaalsoorten ontleenen hun superieure sterkte en corrosieweerstand aan een precieze microstructuur van 50/50 austeniet en ferriet. Onjuiste herstelling van oppervlakteschade—zoals insnoeiingen, krassen of boogslagen—kan dit evenwicht lokaal verstoren, waardoor een zwakke plek ontstaat die gevoelig is voor versnelde corrosie. Deze handleiding biedt een systematische, in de praktijk bewezen aanpak voor het beoordelen en herstellen van dergelijke gebreken.
Fase 1: Onmiddellijke beoordeling en triage
Stap 1: Documenteren en isoleren
-
Maak een foto van het gebrek: Neem, voordat u het aanraakt, duidelijke, goed verlichte foto’s voor het kwaliteitsregister.
-
Markeer de locatie: Gebruik een spuitverfmarker of krijt om de schade te omcirkelen.
-
Stop de werkzaamheden: Zorg ervoor dat er geen verdere werkzaamheden (bijv. lassen, hijsen) worden uitgevoerd op dat pijpsegment totdat een beslissing is genomen.
Stap 2: Beoordeel de ernst
Het besluit om te repareren of te weigeren hangt af van de diepte en het type schade. Gebruik een geijkt putdieptemeter of dieptebuismeter voor een nauwkeurige meting.
-
Acceptabel in de huidige staat (geen reparatie nodig):
-
Lichte, oppervlakkige krassen die niet met de nagel gevoeld kunnen worden.
-
Verkleuring door hitte (hitteverkleuring) zonder onderliggende oppervlaktebreuk.
-
-
Repareerbare schade:
-
Krassen, groeven of slijpsporen die de oppervlakte binnendringen, maar minder diep zijn dan 0,01 inch (0,25 mm) of 5 % van de wanddikte (wat het kleinste is).
-
Geïsoleerde, oppervlakkige putvormige corrosie.
-
-
Afkeurcriteria (vervang de buis/de fitting):
-
Elk gebrek dat dieper is dan de herstelbare limiet.
-
Scheuren van elke grootte (dit is onaanvaardbaar en duidt vaak op dieperliggende materiaalproblemen).
-
Beschadiging gelegen op een lasnaad of in de warmtebeïnvloede zone (HAZ).
-
Raadpleeg de oorspronkelijke leidingontwerpspecificatie; deze bevat vaak de definitieve autoriteit over toelaatbare gebrekgrenzen.
Fase 2: De gecontroleerde herstelprocedure
Indien de beschadiging binnen de herstelbare grenzen valt, volg dan deze zorgvuldige procedure.
✅ Voorbereiding van de gereedschappen: De juiste gereedschappen voor de klus
Het gebruik van verontreinigde gereedschappen is de snelste manier om een Duplex-onderdeel te beschadigen.
-
Gebruik speciale gereedschappen: Gebruik schijven met slijpvlokken, slijpschijven en freesgereedschap die brandnieuw zijn en uitsluitend zijn voorzien voor roestvast staal en nikkellegeringen.
-
GEEN KOOLSTOFSTAAL: Absoluut geen draadborstels, slijpschijven of gereedschappen die eerder zijn gebruikt op koolstofstaal. Dit introduceert deeltjes koolstofstaal, wat leidt tot 'roestzaaiing' en de corrosiebestendigheid vernietigt.
-
Elektrisch gereedschap: Gebruik indien mogelijk pneumatisch (lucht-)gereedschap, omdat dit minder warmte genereert. Als u elektrisch gereedschap gebruikt, zorg er dan voor dat het voorzien is van variabele snelheidsregeling om de warmtetoevoer te beheersen.
✅ Stap 1: Reinig de omgeving
Reinig het beschadigde gebied en een ruime omtrek daaromheen grondig met een speciale reiniger voor roestvast staal om vuil, vet en verf te verwijderen.
✅ Stap 2: Het slijp- en afvlakproces
Het doel is om de beschadiging te verwijderen met minimale warmtetoevoer en tegelijkertijd een glad, naadloos profiel te creëren.
-
Techniek: Gebruik een flap schijf met een fijne korrel (bijv. 80-grit of fijner). Slijp parallel aan de lange as van de buis , niet omtreksgewijs. Dit minimaliseert spanningsconcentraties.
-
Controleer de warmte: Slijp in korte, lichte doorgangen. Pauzeer regelmatig om het metaal te laten afkoelen. Het metaal mag nooit blauw worden. Als u kleur ziet, genereert u te veel warmte en vermindert u de microstructuur.
-
Voorzichtig afvlakken: De afgewerkte slijpbewerking moet een gladde, geleidelijke overgang naar het basismetaal vertonen, zonder scherpe randen of groeven. De diepte-breedteverhouding moet ten minste 1:10 bedragen.
✅ Stap 3: Reinig en inspecteer na het slijpen
-
Reinig het gerepareerde gebied opnieuw om al het metaalstof te verwijderen.
-
Voer een Vloeibare penetratieinspectie (LPI of kleurstofpenetratie): Dit is een kritieke, niet-onderhandelbare stap.
-
Breng de penetratievloeistof aan op het gerepareerde gebied.
-
Laat deze intrekken en veeg vervolgens schoon.
-
Breng de ontwikkelaar aan.
-
Inspecteer onder voldoende verlichting. Elke lineaire of afgeronde indicatie betekent dat het gebrek of een scheur nog aanwezig is. U moet dieper slijpen en de LPI herhalen totdat het gebied schoon is.
-
✅ Stap 4: Corrosiebestendigheid herstellen (passiveren)
Het slijpen heeft de beschermende chroomoxide-laag verstoord. Deze dient te worden hersteld.
-
Methode: Breng een roestvrijstaalproduct aan passiveringsgel of -oplossing uitsluitend op het gerepareerde gebied. Deze zijn meestal op basis van salpeterzuur of citroenzuur.
-
Proces: Volg de instructies van de fabrikant nauwkeurig met betrekking tot toepassingstijd en temperatuur. Hierdoor worden vrijstaande ijzerdeeltjes chemisch verwijderd en wordt de vorming van de chroomoxide-laag bevorderd.
Fase 3: Finale verificatie en documentatie
De reparatie is pas voltooid nadat deze is gedocumenteerd.
-
Finale visuele inspectie: Het gerepareerde gebied moet glad zijn, vrij van gebreken en een uniforme, matzilverkleurige afwerking hebben.
-
Werk documentatie bij: Vermeld op de "as-built"-tekening en het kwaliteitscontrole-dossier:
-
Locatie van de reparatie.
-
Aard van het oorspronkelijke gebrek.
-
Verificatie dat LPI is uitgevoerd en met succes is afgerond.
-
Bevestiging dat de passiveringsbehandeling is voltooid.
-
De basisregels voor reparatie van duplexstaal
-
Hitte is de vijand. Laat het materiaal nooit boven de 250–300 °F (120–150 °C) komen. Als het te heet is om aan te raken, is het te heet om te slijpen.
-
Verontreiniging is sabotage. Een koolstofstaalborstel van $ 5 kan een pijpsegment van $ 5.000 onbruikbaar maken.
-
Inspectie is verplicht. Een reparatie zonder verificatie via LPI is een onvolledige en onaanvaardbare reparatie.
-
Bij twijfel: afkeuren. Als een gebrek aan de grens ligt van wat acceptabel is of als u niet beschikt over de juiste gereedschappen en expertise, is het altijd veiliger — en op de lange termijn vaak goedkoper — om het onderdeel te vervangen.
Conclusie
Het behandelen van oppervlakteschade op duplexstaal gaat niet om een gebrek te 'verbergen', maar om de integriteit van het materiaal op professionele wijze te herstellen. Door deze gedisciplineerde, stap-voor-stap-aanpak toe te passen, zorgt u ervoor dat een kleine bouwincident niet de oorzaak wordt van een ernstige storing in de toekomst, waardoor zowel de planning van uw project als de langetermijnbetrouwbaarheid van de werking worden beschermd.
Hebt u een specifieke reparatie-uitdaging of een les geleerd op locatie? Deel deze hieronder om collega-projectmanagers te helpen bij het nemen van deze cruciale beslissingen.